
Introduction
The camera is one of the most important tools of film-making. Learning to use it well will help you explore your creativity and express yourself as an emerging film-maker.
This chapter gives basic information about different types of camera. You will also learn about framing, camera angles and movements.
If you are interested in the more advanced technical aspects of using your camera, or have a particular interest in camera work, see Camera advanced.
| |
Vision in action |
|
|
||
Equipment and tools
A camera and a tripod are the basic equipment you’ll need to do the exercises in this chapter. Other equipment such as a Steadicam can also help but isn’t necessary.
Main section
Different types of camera
You can record videos using all sorts of devices. Which one you choose depends on the kind of video you want to make, the equipment you have and your technical knowledge.
Advanced equipment gives you the chance to experiment and be more creative. It also means better-quality video and the option of screening your film on a big cinema screen.
Even if you don’t have a video camera, you shouldn’t hesitate to make films – with your smartphone, an automatic photo camera, or anything else you have to hand. These days you can find film festivals that accept productions made with all kinds of camera.
| Types of camera | Advantages | Disadvantages | |
| consumer video camera | 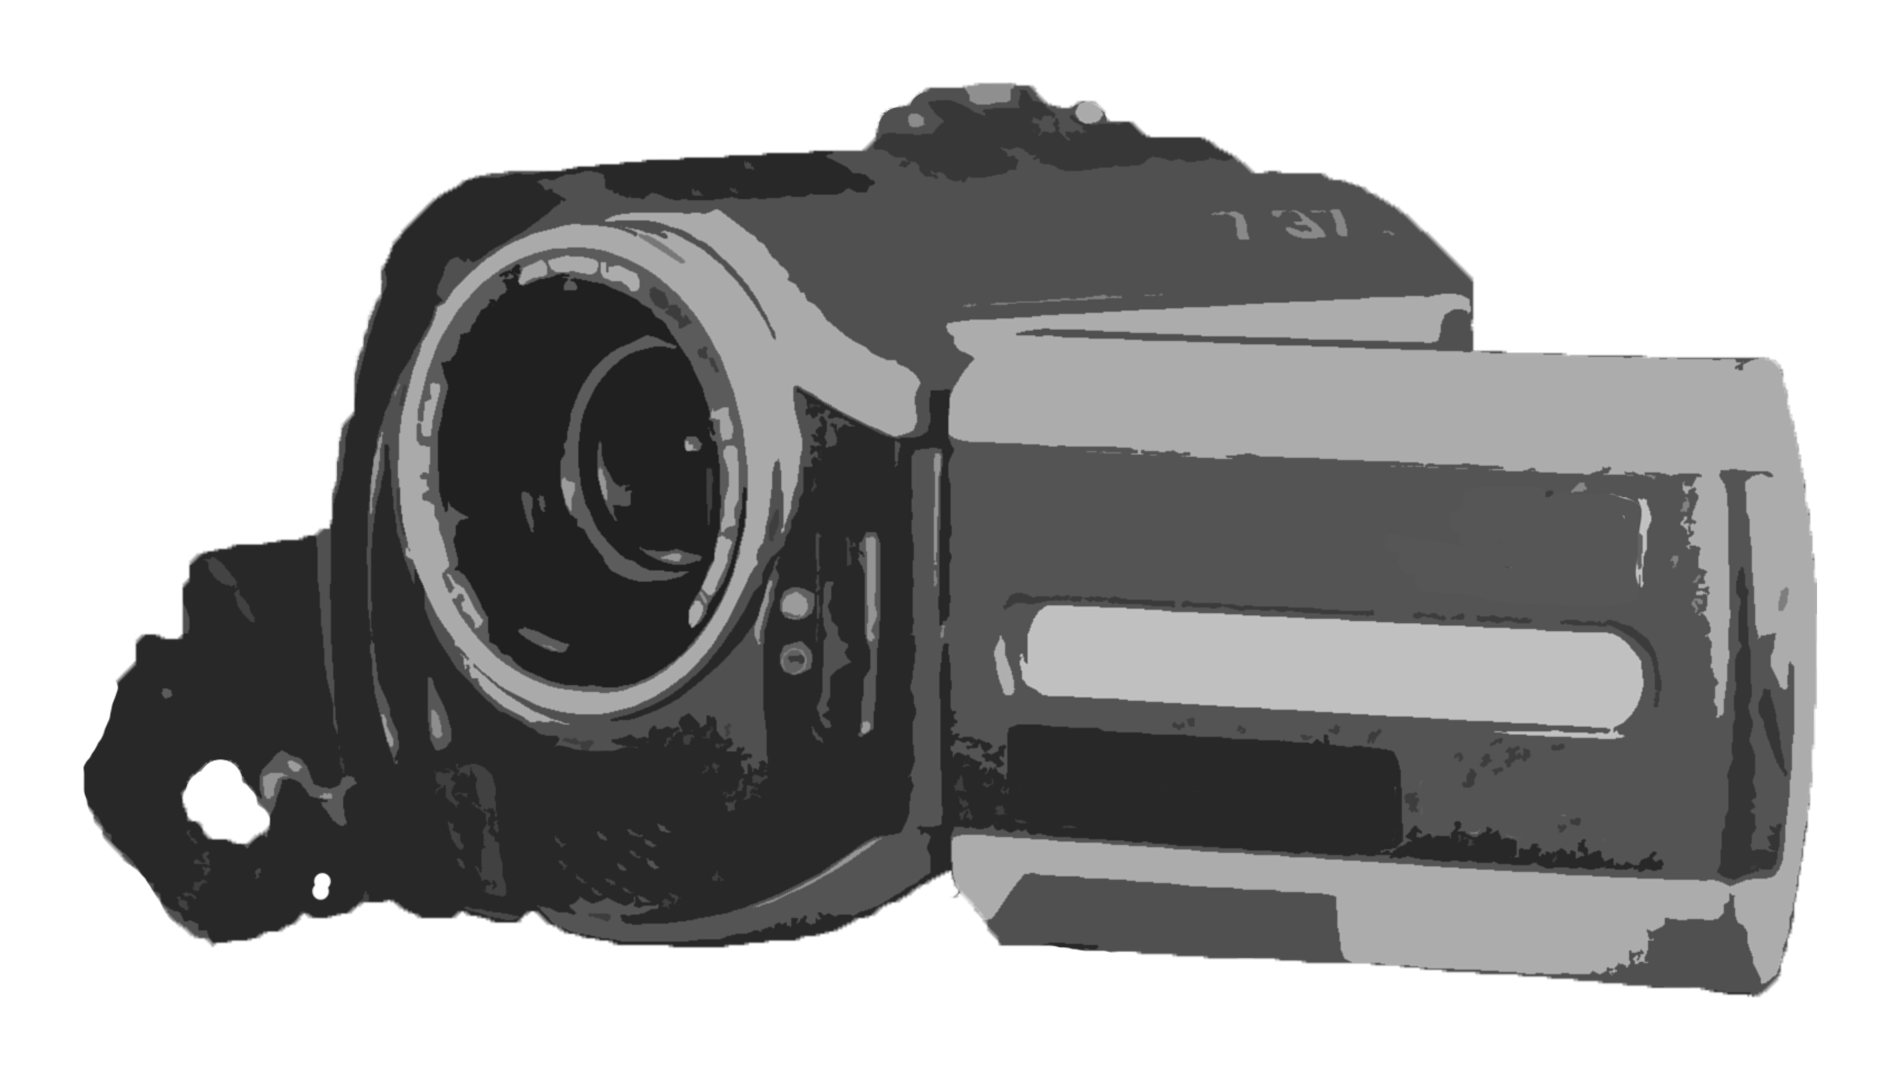 |
low-cost; good automatic functions, presets and picture effects; excellent picture quality in ideal light conditions (bright sunny day); light to carry | difficult to use; few or no manual functions; bad picture quality in poor light conditions, stage light, or where there is high shadow/light contrast; light weight can result in a shaky picture |
| professional video camera | 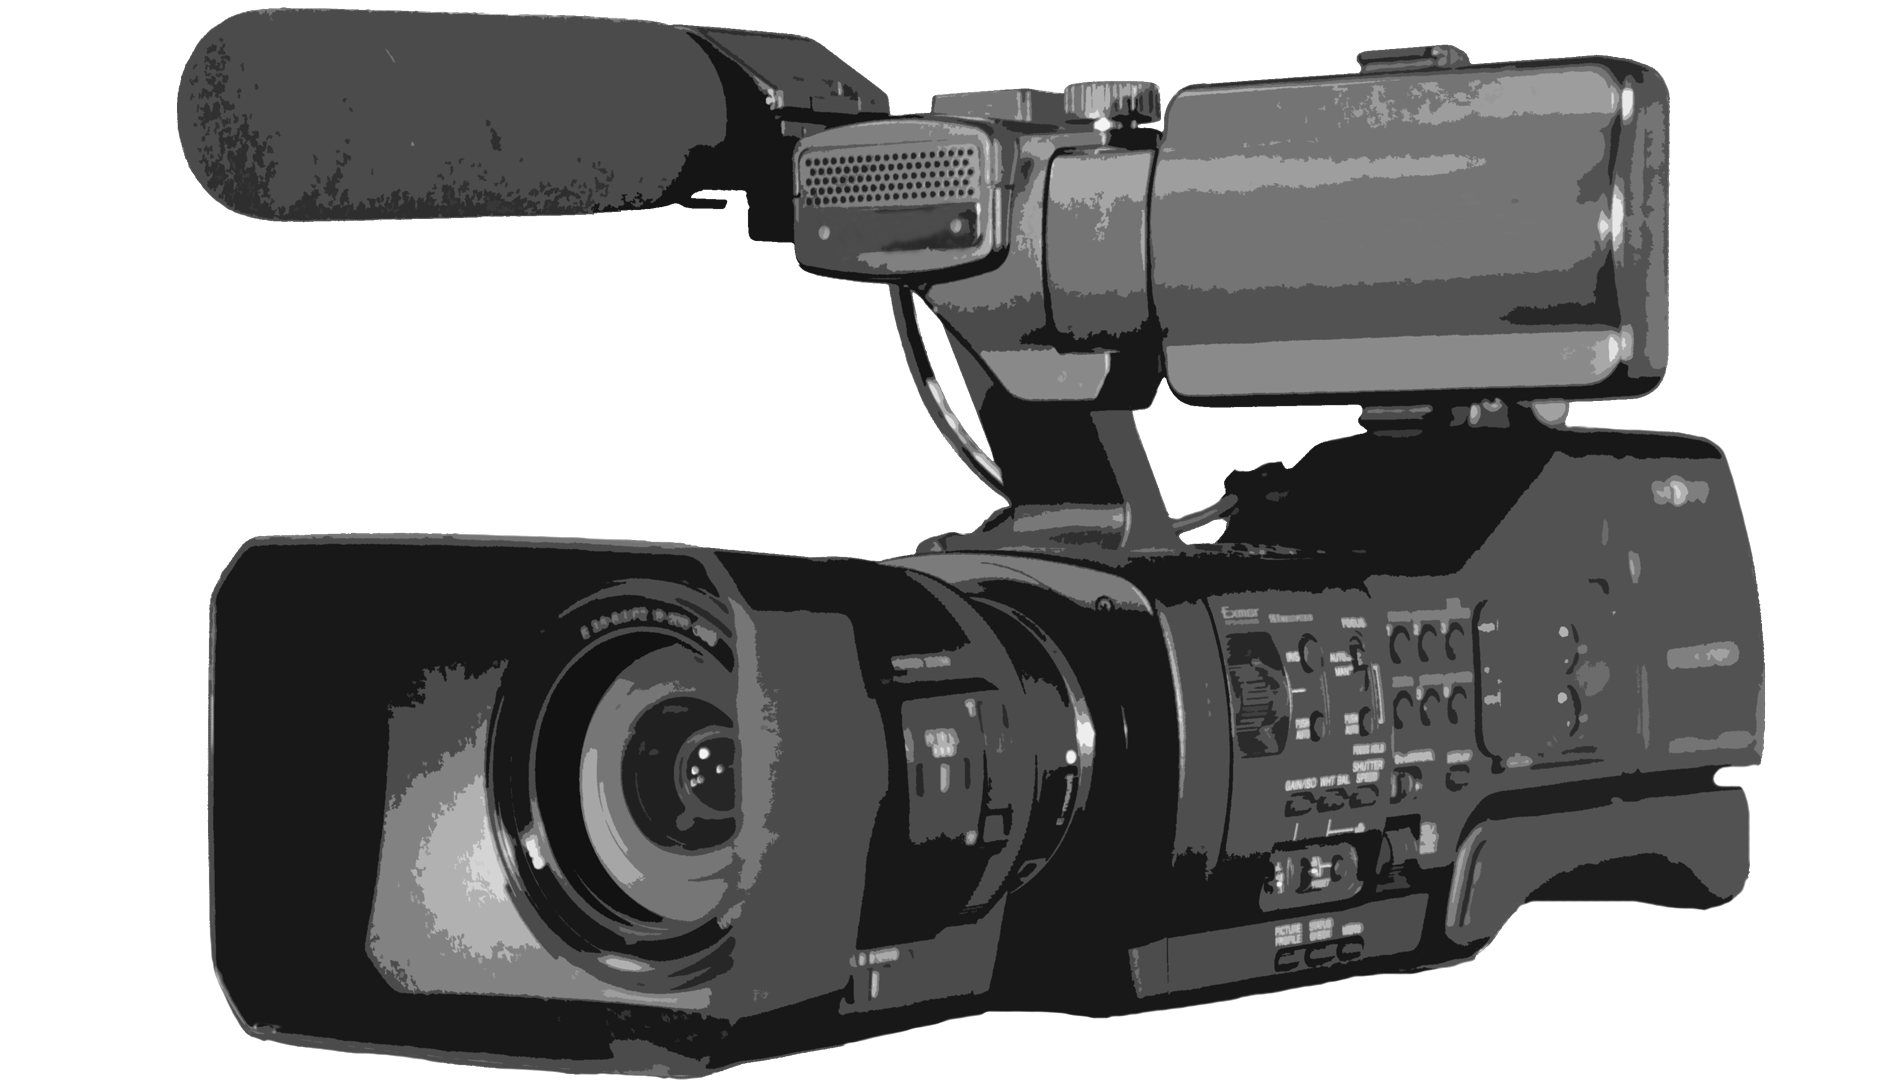 |
useful manual functions; excellent picture quality for use in TV productions and in feature or documentary films; additional inputs for light and sound devices | expensive; some models heavy to carry and difficult to use as a hand-held or shoulder camera; advanced knowledge and experience needed to use some professional cameras |
| automatic photo camera (point-and-shoot digital camera) |  |
low-cost; good automatic functions, presets and picture effects; excellent picture quality in ideal light conditions (bright sunny day); light to carry | difficult to use; no manual functions; bad picture quality in poor light conditions, stage light, or where there is high shadow/light contrast; light weight can result in a shaky picture; some models allow only limited recording time per clip |
| DSLR photo camera | 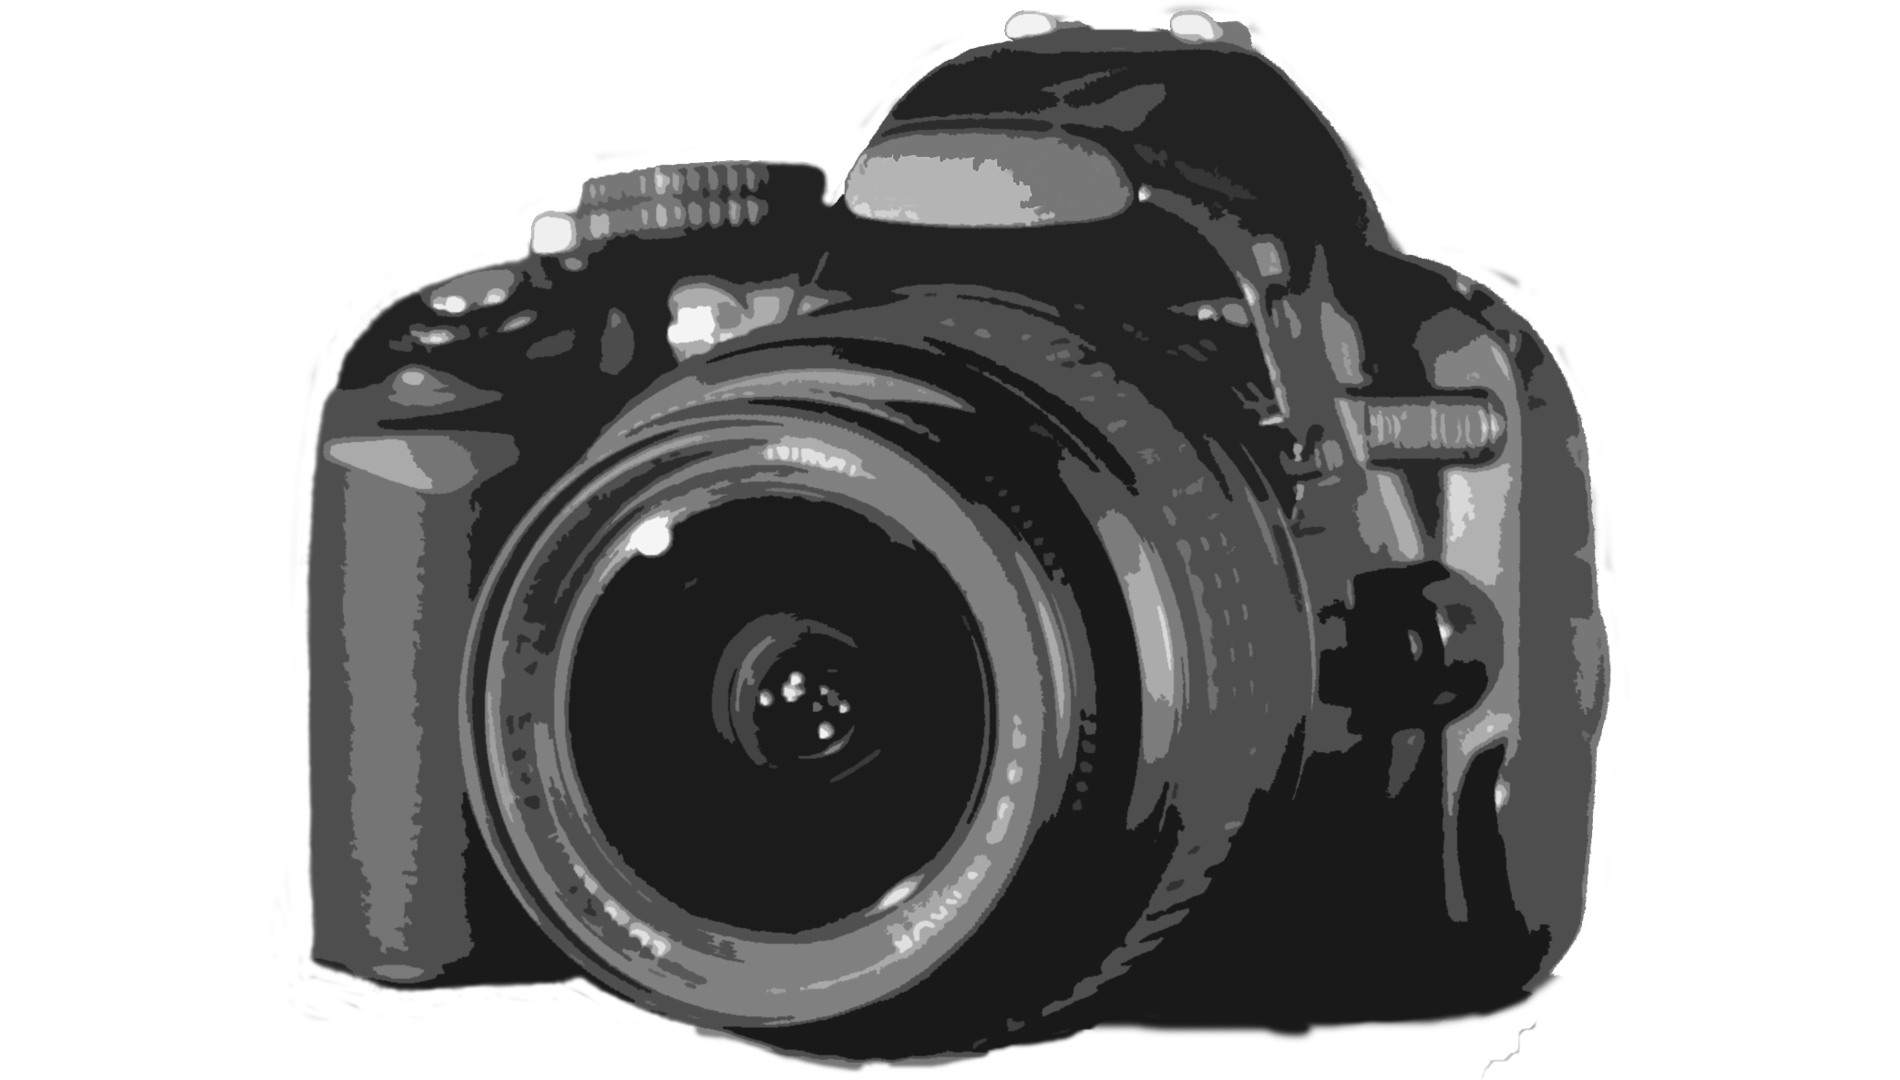 |
excellent picture quality; useful manual functions; use of photo functions in video-making (ISO, different presets and effects); option of additional lenses; cheaper than professional video camera | limited inputs for light and sound devices; not primarily designed for video-filming, various disadvantages when operating as a film camera; may need expensive additional equipment |
| action camera (e.g. GoPro) |
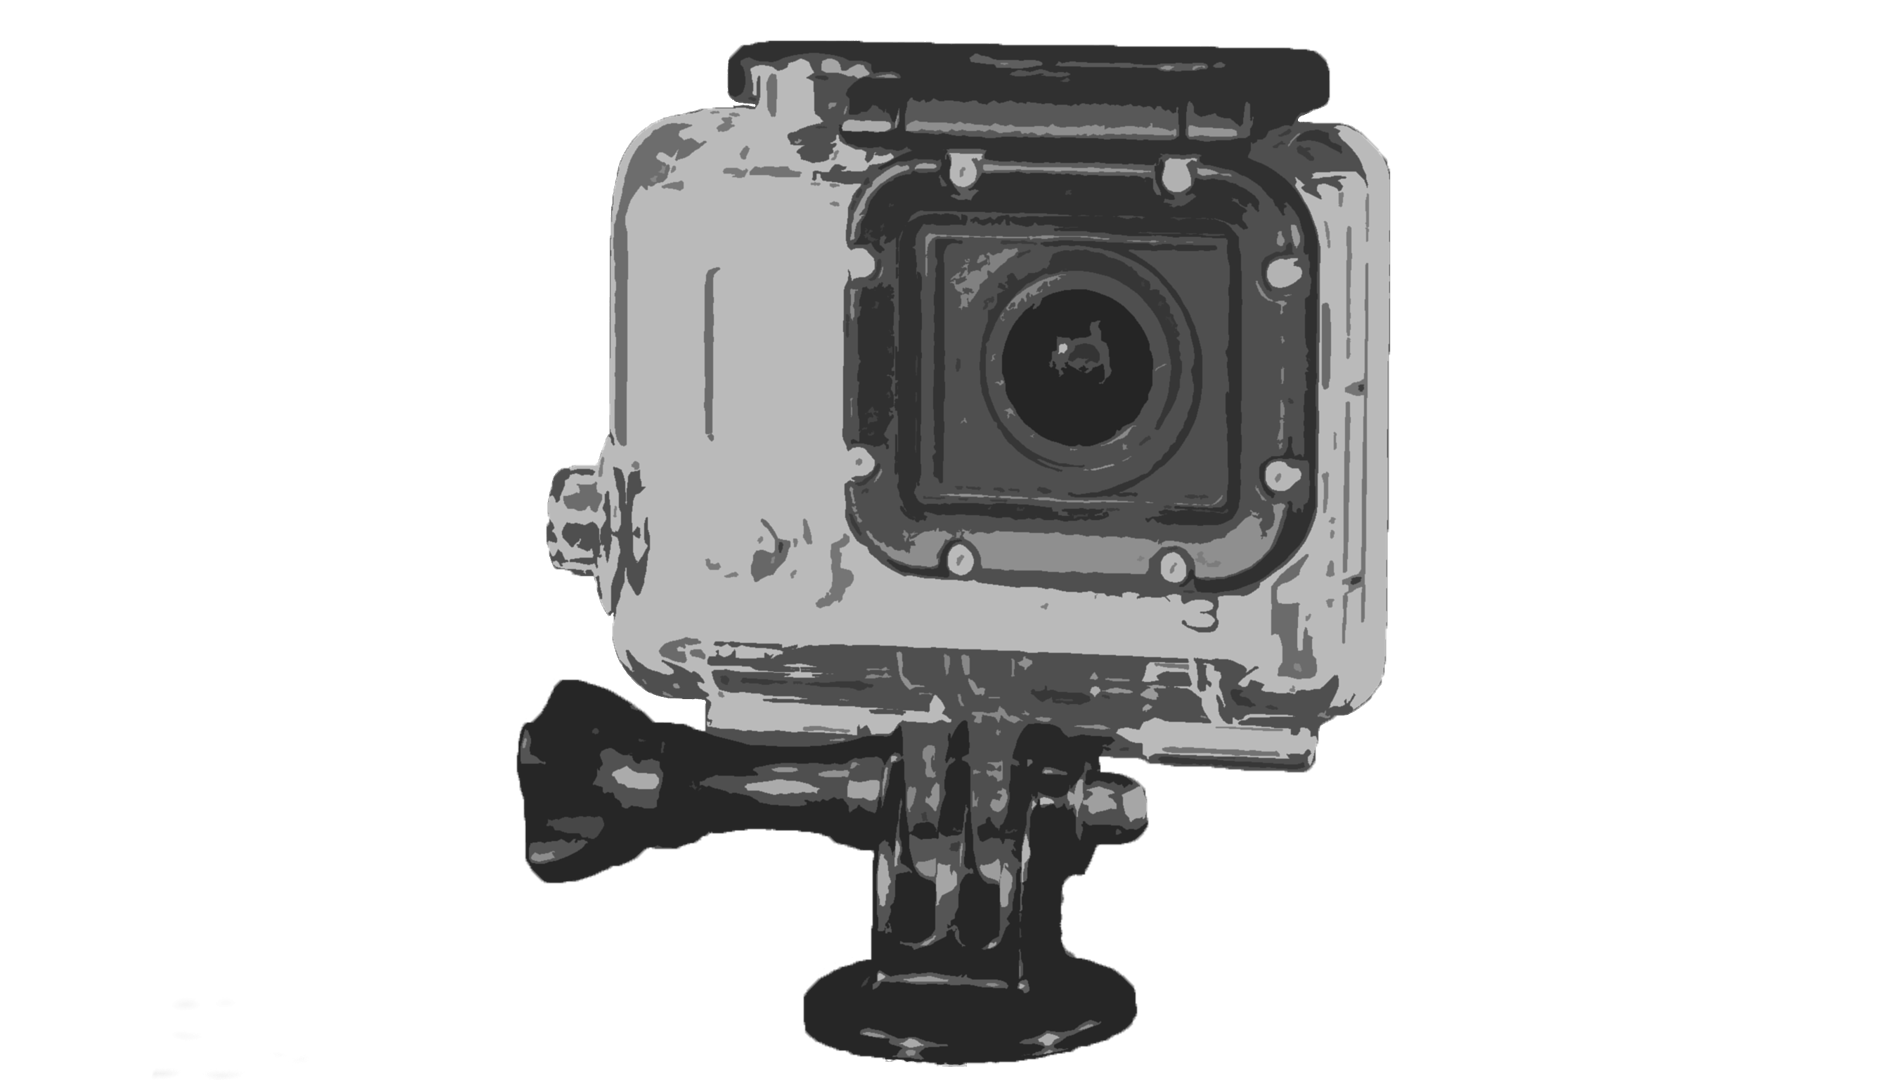 |
good for use in unusual conditions (wet, muddy, etc); wear on the head or in front of the chest, or mount on different objects; useful for documentary filming; very small and light to carry | no manual focussing or zooming; few or no manual settings; battery doesn’t last long |
| smartphone/ tablet |
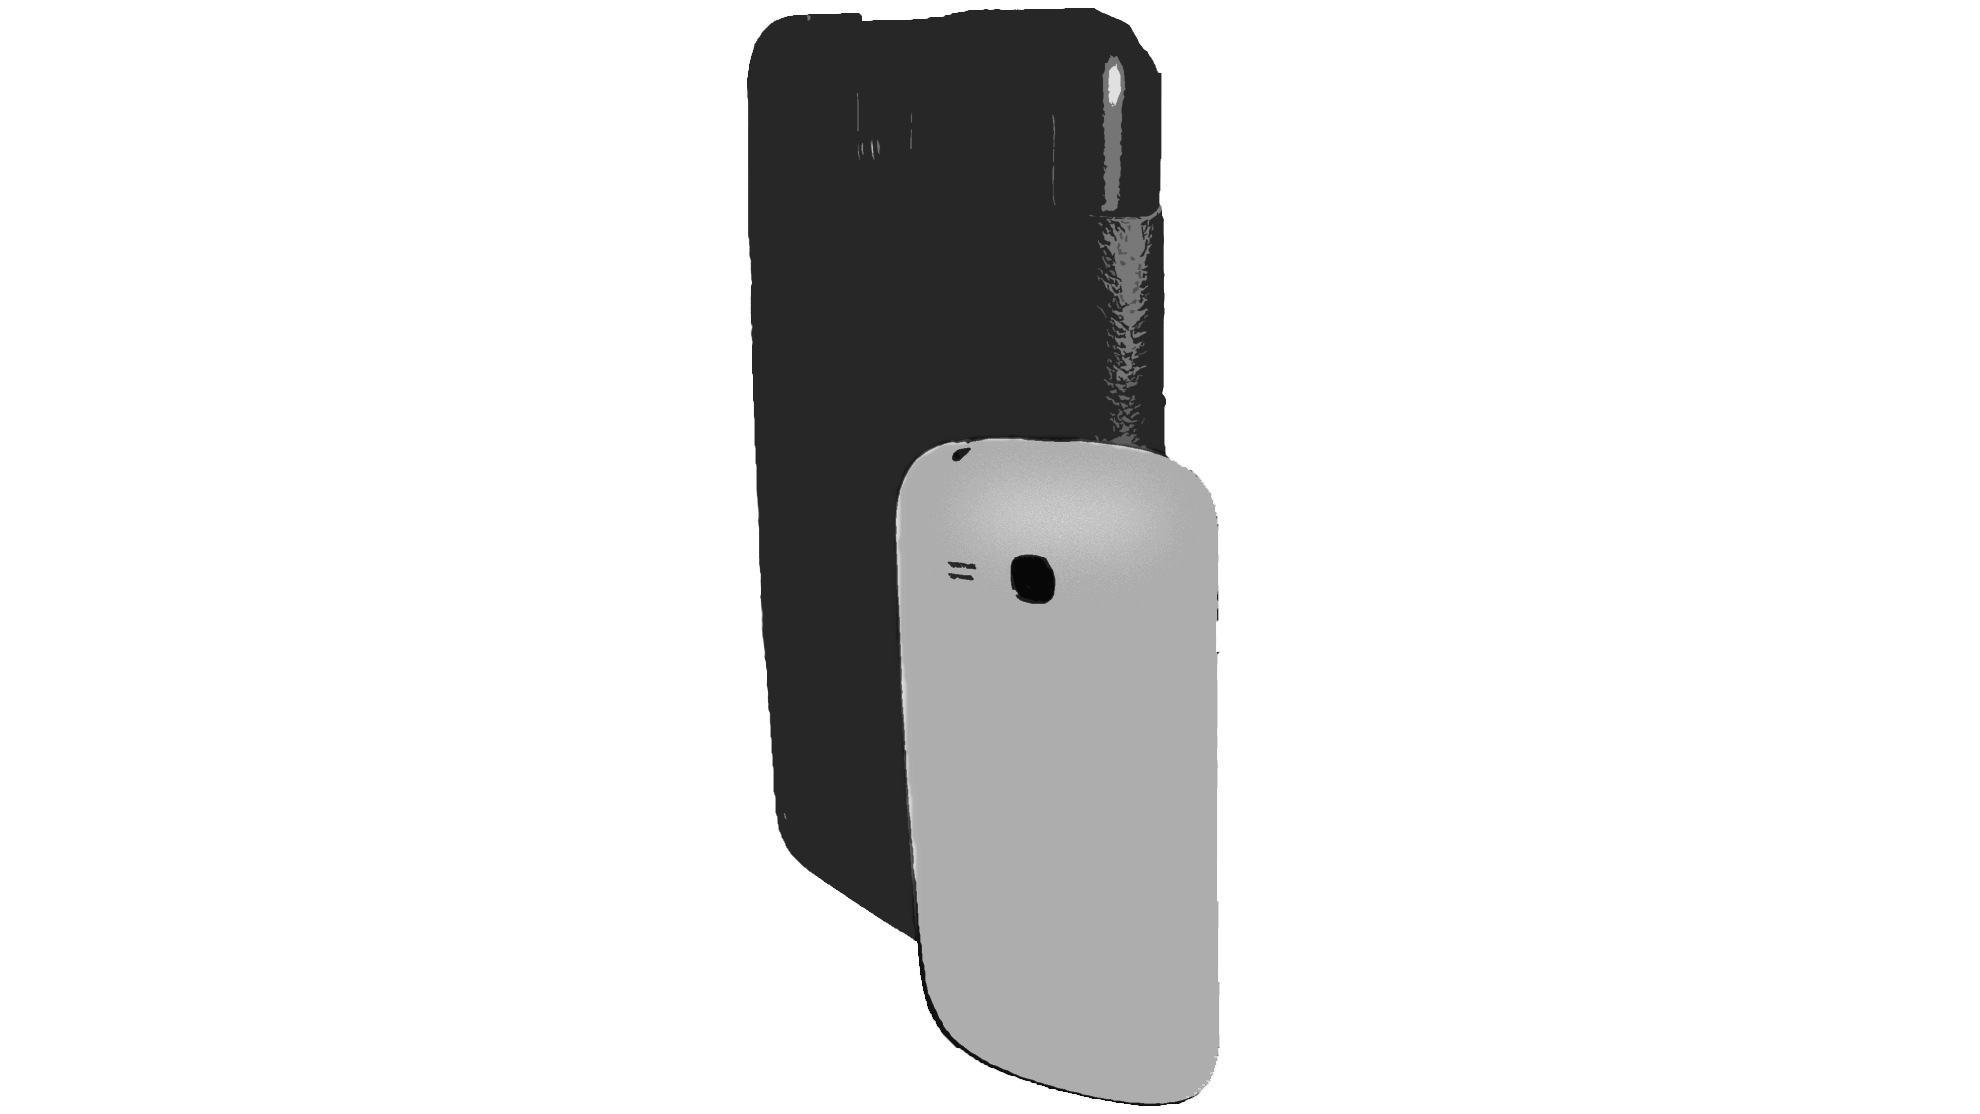 |
great range of price, size, resolution and quality; good automatic functions, presets and picture effects; light to carry; many functions in one device (phone, web, photo/video); easily accessible and simple-to-use editing applications; video easy and quickly to share and publish online; a lot of accessories (selfie-stick, LED lights, stabiliser, etc) | manual functions difficult to use; light weight can result in a shaky picture; limited inputs for light and sound devices; not primarily designed for video-filming |
Parts and controls of semi-professional video camera
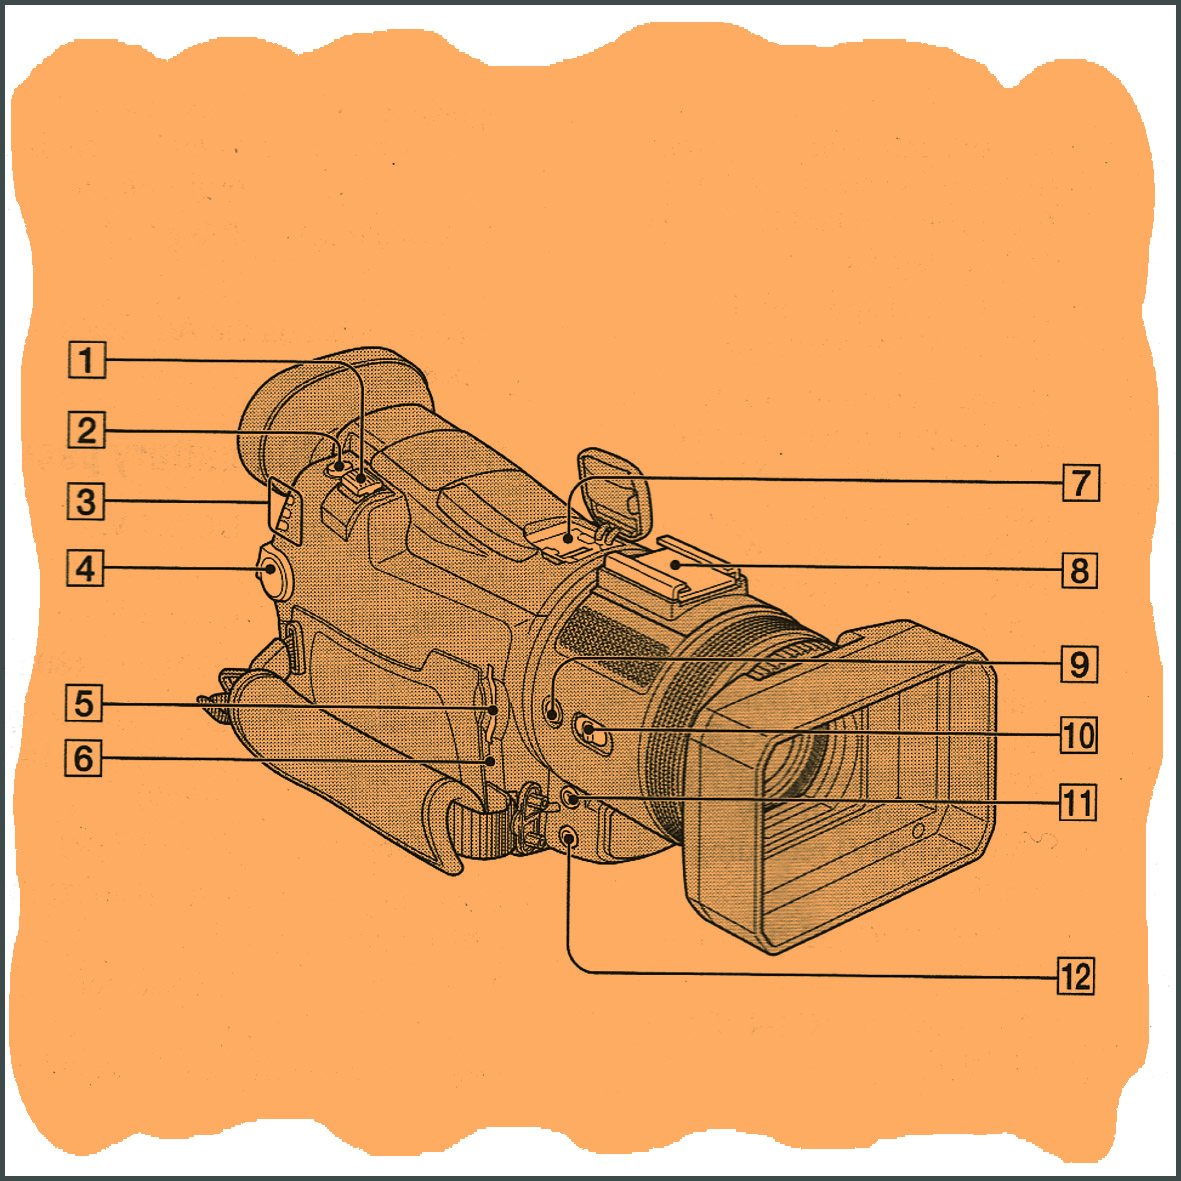 1. Zoom button, 2. Photo button, 3. Camera-Tape, Camera-Memory, Play-Edit mode lamps, 4. Power switch, 5. Memory stick slot, 6. Access lamp, 7. Active interface shoe, 8. Accessory shoe, 9. Assign button, 10. Night shot switch, 11. Microphone jack, 12. Headphones jack.

1. External microphone, 2. XLR adapter, 3. Lens cover lever, 4. Lens hood with lens cover, 5. Zoom button, 6. REC START/STOP button, 7. LCD screen, 8. I-link jack, 9. USB jack, 10. Display/Batt info button, 11. Component out jack, 12. A/V out jack, 13. INPUT1 LOW CUT switch, 14. INPUT2 LOW CUT switch, 15. RESET button, 16. Eyecup, 17. Viewfinder, 18. Viewfinder lens adjustment lever, 19. LANC jack, 20 CHG (charge) lamp, 21, Speaker, 22. Auto Lock switch, 23. Battery pack, 24. DC IN jack.
Framing for film, camera angles and movement
As well as learning about the equipment you need to shoot your film, it’s important to learn the basic ‚language‘ of film – how to frame your picture, and how to position and move the camera.
In the early days of film-making, films usually had just one type of framing, one camera angle and no camera movement. They were short and mostly reflected daily situations (for example Workers Leaving the Lumiere Factory 1895, 46 seconds, and The Arrival of the Mail Train 1895, 50 seconds – both by the Lumière brothers). In the years that followed, innovative men and women developed more sophisticated ways of filming to involve audiences emotionally and help them understand complex stories.
Framing for film
The use of different types of framing is a basic method of telling stories in all of their complexity. The aim is to draw the audience’s attention to what we want to show, explain situations and heighten emotion.
Framing can be used in all kinds of video to make them more interesting. Whether you’re filming a friend’s birthday party, shooting a concert, making a music video clip or documenting a project, your film will be richer visually if you use a greater variety of framing.
The exception proves the rule: You could also decide to use a very small number of framing types as a means of expression – for example, to show boredom and stagnation.
Most of us are able to use appropriate framing instinctively, but it helps to know how framing is used by the professionals. Using the correct terminology is also important when you prepare a filming plan and discuss the picture with other people in the project.
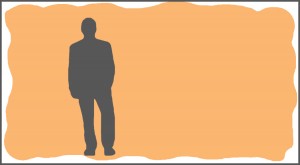
The starting point for framing is the human figure. The wider the framing, the more the audience’s attention is drawn to the setting and the position of your subject in it. The narrower the framing, the more we focus on the subject’s feelings or condition.
Different film schools use different terms for types of framing. The terms below have been specially chosen for this guide. We feel they are more user-friendly and intuitive than some of the terminology you might see elsewhere.
Whatever the naming convention, the important thing is to be able to recognise the different framing types, understand what they do, and learn how best to combine them.
Types of framing
Total: the whole human figure is in the shot.
There are three sub-groups:
- Wide total: the person is a small dot in the picture; we don’t see whether they are male or female, their age, clothes, etc. We can see where they are, the setting, the weather, and so on.
- Middle total: you see the people in the shot better, for example spectators at a football game or people standing in the street.
- Narrow total: from the top of a person’s head down to their feet.

Wide total (left), middle total (middle) and narrow total (right)
Total framing types tell us WHERE something is happening.
American: from the knees to the top of the head; developed for Western movies, so the audience could see the cowboy pulling the gun from the holster on his hip.
Waist: from the waist to the top of the head; often used when filming politicians giving speeches.


American (left) and waist shots
American and waist shots tell us WHO the key figures are.
Chest: from the chest to the top of the head; often used for dialogue scenes.
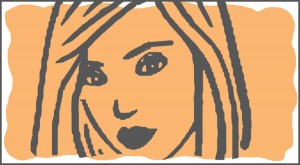
Portrait: from the shoulders to the top of the head; similar to chest shot and also often used for dialogue scenes, but more intimate.


Chest shot and portrait
Close-up: from chin to forehead; used to show subtle or extreme emotion, for example a single teardrop or an angry facial expression.
Detail: draws our attention to a specific detail, for example an important object, action or a body part like the eyes.
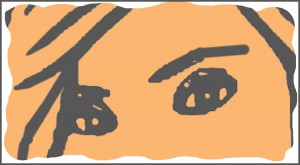
Close-up and detail
Narrow shots tell us WHAT is happening.
Video: Use of different framing (LIJAmedia)
Camera angles
The camera is the ‚eyes‘ – or point of view – of the audience or the characters in a scene. By placing the camera at different angles, you can make the main subject appear dominant, weak, lost, confident, big or small to the audience and other characters.
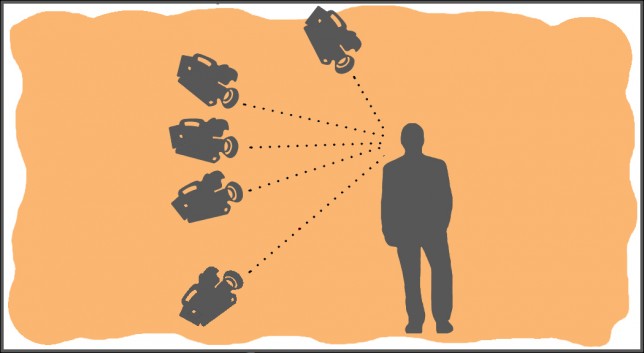
Different camera angles
Neutral angle: the camera is at the same height as the subject – for example, level with a person’s face. This position doesn’t make them look either inferior or superior.
The neutral camera angle is normally used when filming interviews, TV news programmes or documentary films. In feature films the neutral angle is used to film conversations between people who are of the same height or standing/sitting on the same level. This shows they have equal status.
Low angle: the camera is slightly lower than the subject’s eye level. They appear stronger, more powerful or more important.
Extreme low angle: the camera is placed much lower than the subject’s eye level, for example on the floor. They appear very big and frightening.
High angle: the camera is slightly higher than the subject’s eye level. They appear weaker and smaller.
Extreme high angle: the camera is high above the subject’s eye level. They appear very small, insignificant and lost.
In feature films you can use a combination of camera angles – for example a high and a low angle – to show how people of different height see each other. The same goes for filming people who aren’t standing/sitting on the same level, or where you want to show that their status is not equal – for example child and parent, boss and employee.
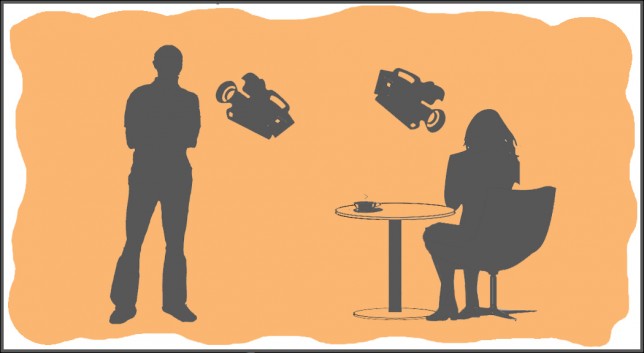
Camera angles for a conversation in which one person stands and the other sits
| Camera angle |
How the subject/object appears to another actor or the audience | How the characters or audience feel | Example use |
| neutral (camera is on same level as the subject / object) |
neutral (neither inferior nor superior) | neutral | TV news, shows, interviews, conversation between two people of equal status |
| low (camera is lower than the subject / object) |
strong, powerful, important | inferior, weak | politicians; how a child sees an adult |
| extreme low (camera is much lower than the subject / object) |
very powerful, very important, very big | insignificant, worthless, lost | filming a building or a mountain |
| high (camera is higher than the subject / object) |
weak, small | superior | how an adult or teacher sees children or pupils |
| extreme high (camera is high above the subject / object) |
very weak, insignificant, lost | above everything, divine, superior | filming ants or a city from above |
Video: Example for the use of different camera angles (a short film by Frederic Klamt – WTV user)
Camera movement
Pan and tilt
Panning and tilting are two of the most common camera movements. You will usually need a good tripod, to make sure the movement is smooth.
In a pan you move the camera horizontally from left to right or right to left.

Pan
In a tilt you move the camera vertically up or down.
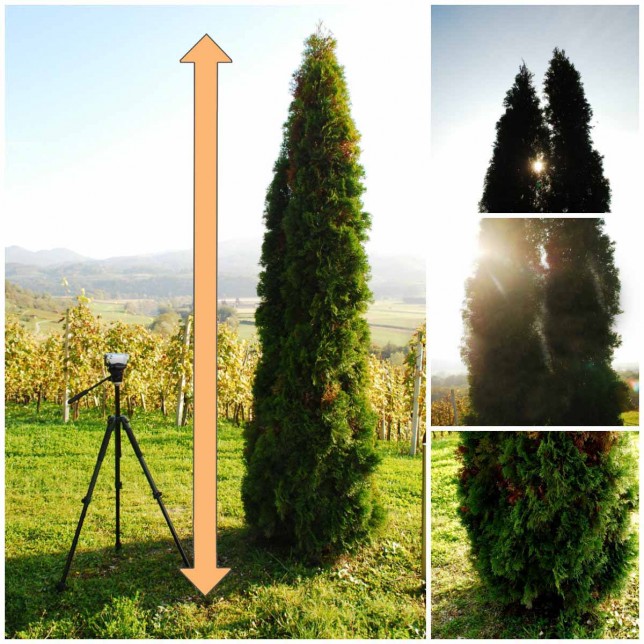
Tilt
When are panning and tilting used?
- When the object is too big to fit in the picture, the zoom-out on the camera is maxed, and we can’t move the camera further away. This could happen when you’re filming a person or an object in a small room, or large / tall objects (skyscrapers, landscapes, etc).
- To show details of a larger object. In this case you tilt with a (closer) zoom-in.
- To show a 180° or 360° angle.
- As the opening scene in films.
Pans and tilts are usually done with a zoom-out, or wide angle. The speed of the pan/tilt should be constant throughout. You don’t usually make any other movements while you pan or tilt. It’s important to define the composition of the start and end pictures in advance.
When you press the record button, hold the first picture (start position) for at least 3–5 seconds before you start panning or tilting.
When you stop, hold the last picture (end position) for another 3–5 seconds before you stop recording. This will give you more editing options.
Zooming and following
Although they appear very similar to the eye, there is a difference between ‚zooming‘ and ‚following‘.
When you zoom, you keep the camera in one position. You get closer to the subject by zooming in and move away by zooming out. While you zoom, you change the focal length and the depth of focus (read more in Camera advanced).
Video: Camera movements video exercise – project VISION
When you follow, you move with your subject – behind, in front or alongside them – keeping the same distance. You keep the same focal length and depth of focus because you’re moving the camera rather than zooming.
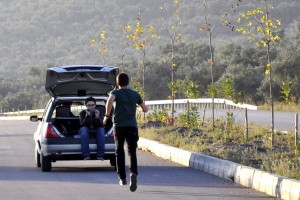
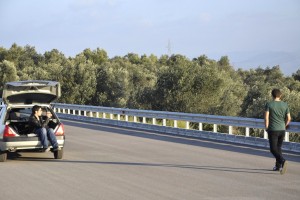
Examples of following from a car
Or you might want to make a related camera movement: bringing the camera closer to (or away from) a subject the isn’t moving. As with following, keep the same focal length and depth of focus.
When to zoom and when to follow
Both zooming and following allow you to show a moving subject from detail to total (and vice versa) in a single shot. They can also be used for special effects.
Comparable to tilting and panning for zooming applies as well: When you press the record button, hold the first picture (start position) for at least 3–5 seconds before you start zooming.
When you stop zooming, hold the last picture (end position) for another 3–5 seconds before you stop recording. This will give you more editing options.
You will need a tripod for a smooth zoom.
Zooming is more often used in TV productions – including news and TV shows – than in films.
Following by moving with the subject requires much more space for the movement of the camera operator.
Following appears more natural to us – we can’t physically zoom with our eyes. That’s why in films it’s used more often than zooming.
Dollies and tracks are often used for following in big productions. In low-budget productions you can improvise with skates, bicycles, cars, home-made trolleys, etc. Fix the tripod or camera to your vehicle, or film with a hand-held camera.
Hand-held camera
Shooting with a hand-held camera creates a documentary effect in feature films; it makes us feel as if we are taking part in the action. The camera constantly moves slightly, and the composition is not always perfect.
Hand-held cameras are often used in documentary film productions. Bigger cameras can be carried on the shoulder as well.
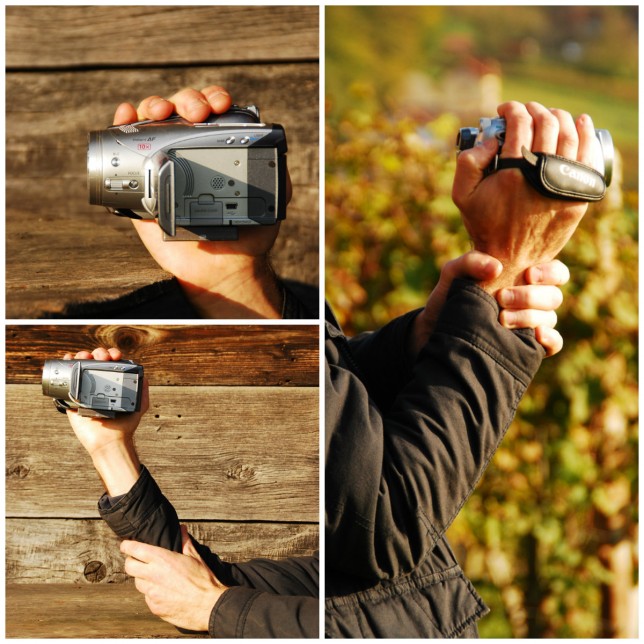
Different examples of stabilising a hand-held camera
Making shots from a hand-held camera more stable
- Avoid deep zoom-in as shots will appear very shaky. It’s better to zoom out and move closer to the subject.
- Lean your hand / arm / elbow on a steady surface to prevent uncontrolled movement.
- Hold your breath while you film, or take only shallow breaths.
Steadicam
A steadicam is a device to stabilise the camera. Camera stabilisers help you shoot a smooth picture even when you’re moving with the camera (for example running or walking on uneven ground).
The design of the device reduces the jolts and shakes that are usually visible on a picture made with a hand-held camera. Steadicams are widely used by professional film-makers.
Most consumer cameras have a built-in adjustment mechanism to compensate for shaking. You can turn this function on from the menu, but bear in mind that it doesn’t have the same effect as a professional camera stabiliser.
Crane
A crane can be used to lift the camera up so you can shoot high above the ground. Bigger cranes can lift the camera operator as well, or you can operate the camera from below.
Cranes are mostly used on film sets or for big shows on TV like Eurovision. For low-budget productions you can rent a smaller.
Remote-controlled multicopters (drones)
Drones can lift the camera very high above the ground. They are a cheaper alternative to a real helicopter or airplane, and can help you get shots of places that are not easily accessible on foot or for the production of promotional and travel videos.

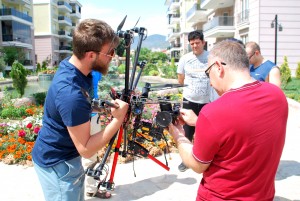
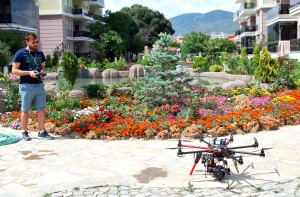
Drone
There are many more ways to create camera movement, but these are the main ones.
For low-budget productions, you can look online for other tools that help you create movement – for example Fig Rigs. There are also ‚do it yourselves‘ tutorials for building your own equipment.
Feel free to research and experiment, and use whatever helps you get the effect you want.
Common mistakes
Use of camera
- The resolution is too low and the picture quality is poor.
- Shooting with inconsistent aspect ratio, quality and frame size. This leads to extra work in post-production, or incompatible shots.
Framing
The framing isn’t defined well (for example a person’s forehead is cut off), a shot is at an angle, or there is too much space above the head / below the feet of the subject (see Composition and color).
Camera angles
The height of the camera suits the camera operator and not the subject! Placing the camera at your own eye level is natural, but sometimes you have to crouch or climb higher to get a good shot.
Camera movement – pan/tilt
- Searching for the best composition at the end of a pan or tilt. This means moving the camera back and forth indecisively. To avoid this, make a test shot before you start filming.
- Stopping or slowing down the pan / tilt in the middle, then continuing.
- Making unplanned movements (for example zooming) at the same time as panning/tilting. This affects your shot composition.
- Panning and tilting at the same time. You won’t be able to lead the camera smoothly, especially if you’re using a low-budget tripod.
Camera movement – zooming and following
- Zooming in or out too often.
- Zooming too quickly or too slowly.
- Not zooming or following at a constant speed – for example stopping and continuing, or correcting the shot composition.
Camera movement – hand-held camera
- Your hand shakes too much!
- Shaky picture from zooming in too deep. Zoom out and, if possible, approach the subject as necessary.
- The picture is at a slant, and verticals and horizontals are not aligned (see Composition and colour).
These common mistakes may appear very obvious, but we tend to forget about them in the heat of the moment.
It’s a good idea to come back to this section when you’ve finished the exercises, or when you start to shoot a film. Check what shots you’ve made and see if you can find any of the above mistakes. We all learn best from the practical work we do and by recognising the mistakes we’ve made.
Exercises
Framing
- Watch any film for 10 minutes; turn the sound off so you can focus better. See how many different types of framing are used and for how long. Make a tally sheet and count how often each framing type is used.
- Take shots or photos of a person doing something, for example drinking coffee, playing football, doing homework. Use at least three different types of framing to show this one action.
- Show different emotions – anger, joy, sadness, boredom, envy, excitement, happiness, satisfaction, disappointment, peacefulness – by taking shots or photos with different framing. One photo for each emotion is enough, but use a variety of framing – total for one emotion, waist for the next, close-up for the third, etc.
- Make a video collage (see Making a video collage) about your city or organisation. You can use the different framing types more than once – for example include several total shots, several detail shots, etc. Edit your clips ‚in-camera‘ – this means starting to make a combination of the shots while you’re still shooting. You could start with totals, continue with middle shots, go to details, come back to middle shots and then totals again. Find a good introduction and ending shot.
Practical advice:
- at this stage, use only fixed shots, with no camera movement
- make the shots long enough: 4–10 seconds, depending on the complexity of the image. A simple detail can be shorter; a complex total with a lot going on needs to be longer.
- if there is action ‚crossing‘ the shot – for example a train passing – let it finish and leave the frame; don’t stop shooting while it’s still in the middle of the frame.
Camera angles
- Find and film different situations that are typical for different camera angles (for example, neutral angle for interviews, or a low angle for a boxing champion).
- Film an object / person using all possible camera angles, then compare the shots.
- Film a dialogue scene using two camera angles – low and high.
Camera movement – pan/tilt
- Make a clean (smooth) pan of a landscape or city.
- Make a clean tilt of a tall building and / or a standing person.
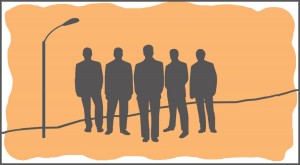
- Make a detail pan of several people (their faces/shoes) standing in a row.
Camera movement – zooming and following
- Film a person moving away by keeping the camera in one position and zooming in.
- Film a person moving away by following them from behind or from the front. Keep the same distance and the same focal length (the zoom remains in one position) throughout.
- Film a person standing and ‚move away‘ from them by zooming out.
- Film a person standing and physically move the camera away while keeping the same focal length (the zoom always remains in the same position).
- Film a person moving by following them from the side.
- Film a person moving (from the side) with a horizontal pan.
- Compare all 6 shots!
- Make a clean zoom-in or zoom-out shot of an object / person. Start with the eyes and finish with a total shot of the person; or start with the house number and finish with the whole house.
- Create an example of bad zooming.
- Follow-film someone or something, from different types of vehicle – car, bike, and so on. Be creative!
Camera movement – hand-held camera
- Film a dialogue using a tripod. Start with a total shot and then narrow the framing by zooming in.
- Film the same scene, using the same framing, but with a hand-held camera.
- Compare both shots.
- Film a subject with a hand-held camera from a distance, using maxed zoom-in.
- Go closer and film the subject using maxed zoom-out. Try to keep the same framing as you used in 4.
- Compare both shots and the shakiness of the picture.
Related topics and links to external resources
Chapters: Camera advanced / Composition and colour
Methodology
The exercises in this chapter are designed to help you get started with camera work, and so they’re really important. However, they can be a bit boring if you don’t have a project in mind.
Whether you’re learning by yourself or leading a group of young people through the process, pick a topic that interests you and link the exercises to the topic. Your motivation will be stronger, you’ll enjoy editing the clips more, and the final result will be better.
Topics can include friendship, your town / village, time of the year, school, youth club, family members.
Terminology
framing for film, total, American, middle shot, close shot, portrait, close-up, detail, (extreme) high camera angle, (extreme) low camera angle, neutral camera angle, pan, zoom, following, crane, hand-held camera, Steadicam, drone