
Introduction
Composition is the arrangement of objects in the picture. In this chapter you’ll find out how to arrange your picture to achieve a specific effect. You’ll also learn how to use colour and light to create a particular atmosphere.
| |
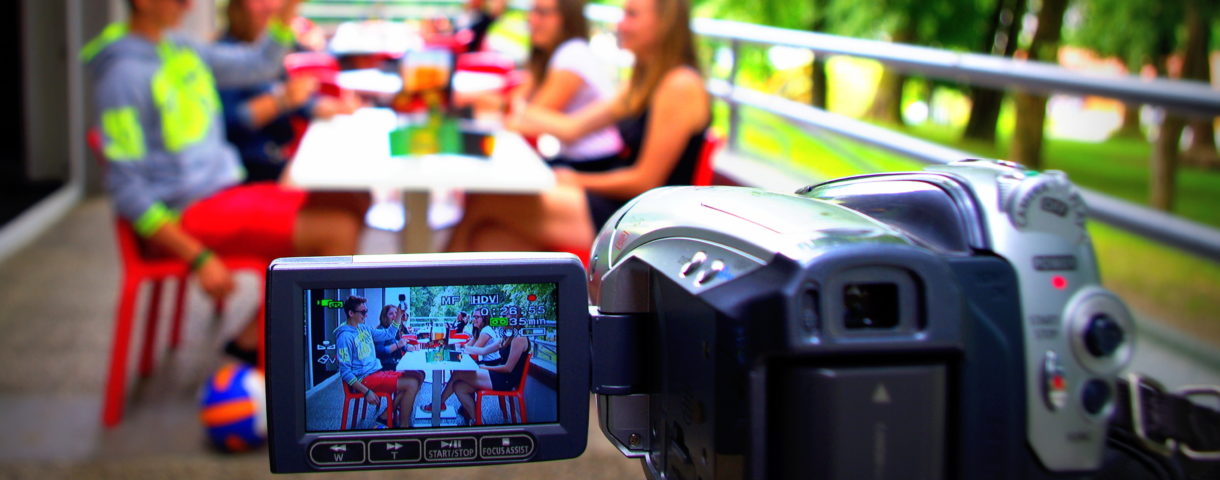
Vision in action |
|
|
Think about the following when you shoot your film:
|
||
Equipment and tools
The basic equipment you need to do the exercises in this chapter is a camera. A tripod and some additional lights will help if you want to experiment a bit further.
Main section
The aim of good composition is to help the audience understand the picture. Composition in photography and other visual arts can be a great inspiration in composing video frames.
Static shots – where there is no camera movement – are easier to compose; you have more time to plan your picture carefully. It’s harder to control the composition of dynamic shots with a lot of camera movement.
Complex shots need to be longer, to give the audience enough time to recognise all the elements in the picture. Shots with a simple composition and few elements can be shorter.
As well as arranging the elements in your picture in a particular way, you can use colour, light and different lenses to achieve a specific effect with your shot.
Types of composition
There are many different ways of composing a picture to get the effect you want. Here we focus on three simple but effective types of composition.
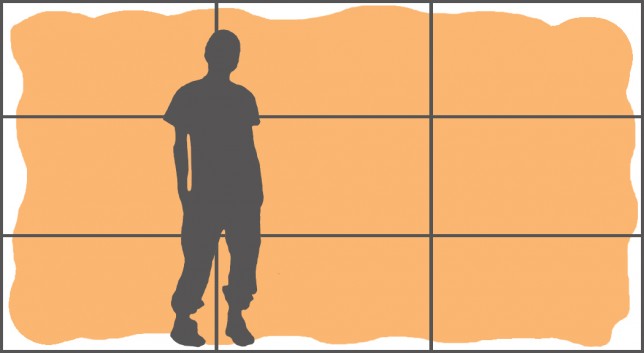
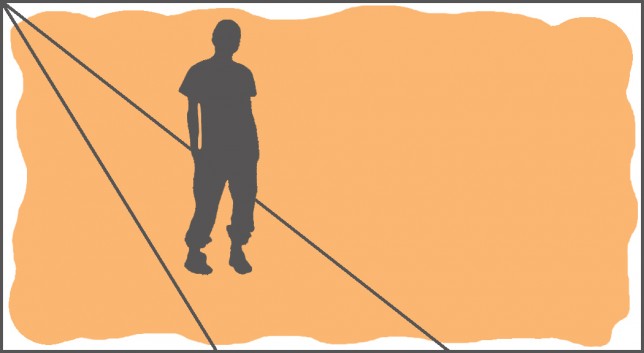
Central composition
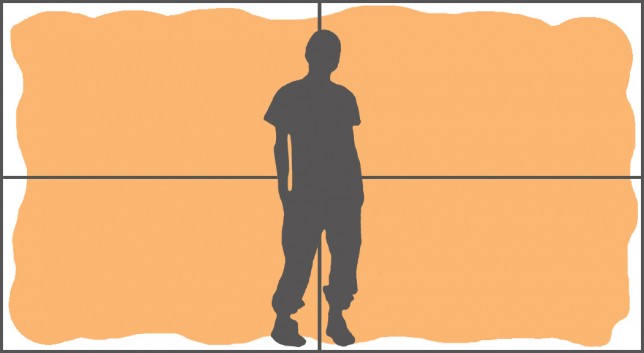
Central composition
Placing your main subject or subjects in the centre of the picture both vertically and horizontally gives you a central composition. It makes the picture appear calm, static and stable.
This is the simplest type of composition and the one we choose instinctively. That’s because our eyes like balanced pictures and tend to focus on central points first.
It’s good not to overuse this type of composition. You should experiment and see where it works well for you, but try to discover other ways of presenting your subject appropriately as well.

Examples of central composition
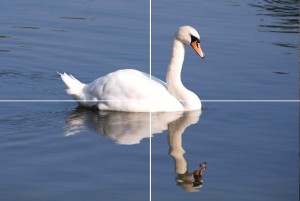
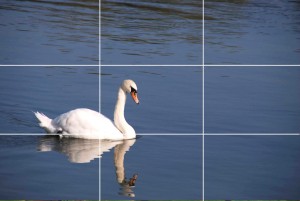
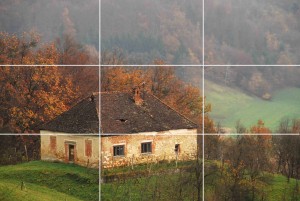
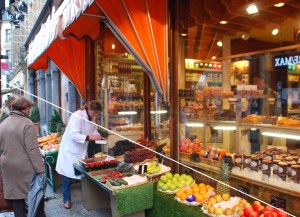
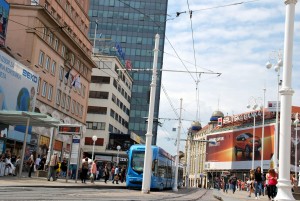
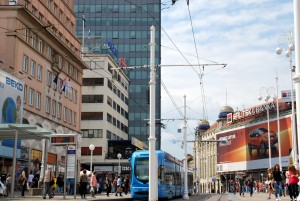
Rule of thirds
Rule of thirds
According to the rule of thirds, the picture is horizontally and vertically divided into equal thirds, forming nine equal rectangles. The main subject or subjects should be placed along these lines. Composing your picture in this way will give you a pleasing while at the same time dynamic image.
You can find the rule of thirds in many other places, including geometry, music, architecture, photography and even the human body.

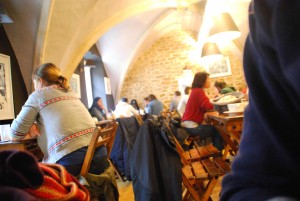
Examples of rule of thirds
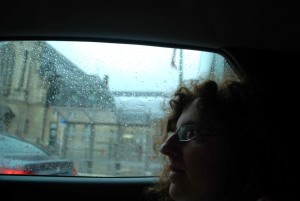
The rule of thirds is commonly used when composing dialogue scenes. The person talking, or the person whose face we can see, occupies two thirds of the image. The other person takes up one third of the picture.
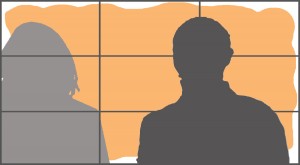

Example of the rule of thirds when shooting a dialogue scene
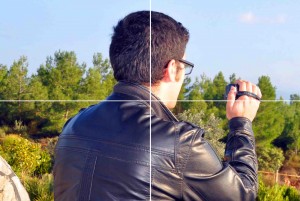
Diagonals
Diagonals
Placing objects in a diagonal from left to right or vice versa gives you the most dynamic composition type.

Examples of diagonals
Decomposition
You can create a sense of chaos, irrelevance or any other subjective feeling by ‚decomposing‘ your picture – arranging its elements in an unbalanced way. 2
Examples of a decomposed picture
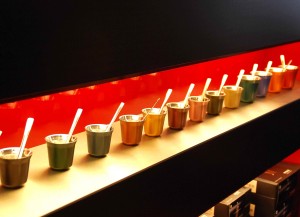
Colour
Along with the arrangement of elements, colour is one of the most important components of your picture. It plays a crucial part in creating a particular atmosphere for your shot.
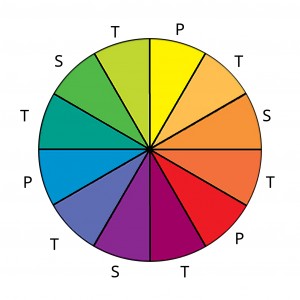
Colour circle with primary colours (P), secondary colours (S), tertiary colours (T)
Primary colours: red, blue and yellow. They make the picture appear bright and optimistic.
Secondary colours: green, orange and violet. They are combinations of primary colours and give the picture a neutral look.
Tertiary colours: red-orange, yellow-orange, yellow-green, blue-green, blue-violet and red-violet. These are combinations of primary and secondary colours. They can make the picture look dull or depressing.
Harmonic colours: colours that sit next to each other in the colour circle. Using them together creates harmonic and balanced pictures.

Example use of harmonic colours
Complementary colours: colours that sit opposite each other in the colour circle. Using them together creates movement and contrast, and can also sometimes have an unpleasing effect. In nature, many plants and animals display such combinations to defend from predators or, in the case of some snakes and lizards, as a sign of their toxicity.


Example use of complementary colours
Light tones
Another important component of your picture is the ratio of light and shadow. Based on this ratio, pictures can be decided into three categories:
- High key: a very bright picture with few shadows or dark spots. Created using a strong front light and slightly wider iris.
- Middle key: light and shadow are balanced.
- Low key: the picture consists mostly of dark tones, with a lot of shadows. Created using a back light and very little or no front light.

High-key, middle-key and low-key images
Use of different lenses
Using different lenses can also help you achieve a particular effect. Your choice will usually be between shooting from a close range with zoom-out, from a medium range with middle zoom, or from a distance with maxed zoom-in (see ‚Lenses‘ in Camera advanced for more information).
Common mistakes
1. Too much unnecessary space around your subject.
too much space above the head (left), and good composition (right)
2. Make sure horizontal and vertical lines are well aligned (for example making sure a bridge is straight horizontally or a house stands straight vertically), unless you intentionally want a different, more artistic effect.
poorly aligned verticals (left), and good composition (right)
3. Frame edges aren’t clear, and elements are oddly cut or included – for example a random leg or arm. You could avoid this by changing the framing or camera position. This is often easier than changing the location.
hands oddly cut out of the frame (left), and good composition (right)
Exercises
- Go out with your camera and create good examples (photo and / or video) of the three types of composition.
- Create good examples (photo and / or video) of different colour combinations. Find suitable motivations or subjects, and try to express particular emotions.
- Make a short video- or photo-collage (see Making a video collage) or film a scene in high- or low-light key. Match the light key to the topic!
- Watch a film and try to recognise the types of composition, colour and light.
Related topics and links to external resources
Chapters: Camera basics / Camera advanced / Basics of lighting
Methodology
Whether you’re learning by yourself or leading a group of young people through the process, pick a topic that interests you and link the exercises to the topic. Your motivation will be stronger, you’ll enjoy editing the clips more, and the final result will be better.
Terminology
composition, central perspective, rule of thirds, diagonals, primary colours, secondary colours, tertiary colours, harmonic colours, complementary colours, light tones / keys, high key, middle key, low key